Featured image for how to unscrew an oil filter
Image source: compressorlab.com
Achieving a mess-free oil filter removal begins with meticulous preparation and the correct tools. Position a wide drain pan directly underneath and loosen the filter with an oil filter wrench, allowing residual oil to drain before fully unscrewing it. This simple technique ensures a clean job, preventing spills and making your next oil change smoother.
Easy Steps How to Unscrew an Oil Filter Without a Mess
Hey there, fellow car enthusiast! Ever stared at that stubbornly stuck oil filter, wondering exactly how to unscrew an oil filter without turning your garage into an oil slick? Trust me, we’ve all been there. It seems simple, right? Just twist it off! But the reality can be a bit more…challenging. The good news is, with the right approach and a few clever tricks, you can tackle this DIY task with confidence and keep the mess to a minimum.
Getting that old oil filter off doesn’t have to be a battle. With a little preparation and the right tools, you’ll be surprised how smooth the process can be. Let’s dive in and get that oil change done!
Q: What are the best methods and tools for how to unscrew an oil filter efficiently and cleanly, based on your experience?
Oh, this is a question near and dear to my heart! I’ve done my fair share of oil changes over the years, and I’ve certainly learned a thing or two about how to unscrew an oil filter without making a colossal mess. It’s all about preparation and having the right gear. Think of it like cooking – you wouldn’t start a meal without all your ingredients ready!
First things first, let’s talk about what you’ll need. You definitely want to gather your tools before you even think about getting under the car. Here’s my essential checklist:
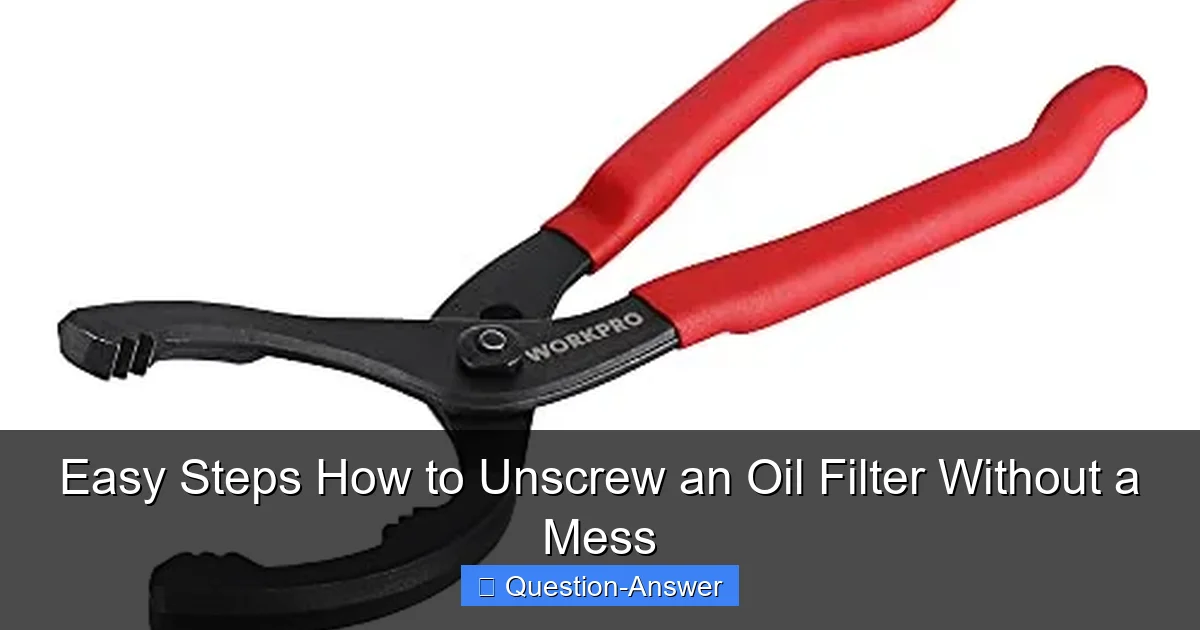
- Oil Filter Wrench: This is non-negotiable. There are a few types:
- Strap Wrench: My personal favorite for really stubborn filters. It gives fantastic grip and leverage. I once had a filter that felt welded on, and only my trusty strap wrench saved the day!
- Cup-Style Wrench: These fit specific filter sizes and attach to a ratchet. They’re super clean and efficient if you have the exact size for your filter.
- Pliers-Style Wrench: Good for general use, but they can sometimes crush the filter housing a bit. Fine for removal, but just be aware.
- Drain Pan: A wide, low-profile pan is best. Get one that holds more oil than your car uses.
- Rags or Old Cardboard: To catch spills and keep your workspace tidy.
- Gloves: Protect your hands from hot oil and grime.
- New Oil Filter and Fresh Oil: Obvious, but worth mentioning!
- Socket Wrench (for drain plug): Make sure you have the correct size.
- Jack and Jack Stands: Safety first! Never work under a car supported only by a jack.
Now, let’s walk through the steps, imagining we’re doing this together:
- Warm Up the Engine (Just a Little!): Drive your car for 5-10 minutes. Warm oil drains better and helps free up the filter a bit. Don’t make it piping hot; we don’t want burns!
- Safety First! Get Under There Safely: Park on a level surface. Engage the parking brake. Jack up the front of your car and secure it with jack stands. This is crucial.
- Drain the Old Oil: Locate your oil drain plug. Place your drain pan directly underneath it. Using your socket wrench, carefully loosen and remove the drain plug. Expect a gush! Let it drain completely. This can take 10-15 minutes. While it drains, you can clean around the filter area. Once drained, reinstall the drain plug and tighten it snugly. Don’t overtighten it – you don’t want to strip the threads.
- Time to Tackle the Filter: Now for the main event: how to unscrew an oil filter. Move your drain pan so it’s directly under the oil filter. Even if you’ve drained the oil, there will still be some oil in the filter, and it will spill.
- Choose your weapon (I mean, wrench!). For a stubborn filter, I usually reach for the strap wrench. Loop it around the filter, pull it tight, and get a good grip.
- Turn the filter counter-clockwise. It might be tight initially, so a firm, steady push is better than a sudden jerk. As it starts to loosen, oil will trickle out into your pan. This is exactly what we want!
- Keep turning until you can unscrew it by hand. Once it’s loose enough, just spin it off. Try to keep it upright as you remove it to minimize spillage. I usually have a rag ready to quickly wipe the mounting surface as soon as the old filter is off.
- Let the old filter drain into the pan for a bit. There’s always more oil in there than you think!
- Clean Up and Prepare the New Filter: Wipe down the engine’s oil filter mounting surface thoroughly. Crucially, make sure the old rubber gasket from the old filter isn’t stuck to the engine block. I learned this the hard way once when I had a double-gasket situation, leading to a huge leak. Not fun!
- Install the New Filter: Before installing the new filter, put a thin film of fresh oil on its rubber gasket. This helps create a good seal and makes future removal easier. Screw the new filter on by hand until it’s snug. Then, give it about an additional quarter to half a turn with your hand (or very lightly with your wrench, if the manufacturer specifies). Never overtighten an oil filter! Hand-tight is usually all you need.
- Refill and Check: Add the correct amount of fresh oil to your engine. Start the car and let it run for a minute or two. Check for any leaks around the new filter and drain plug. Turn off the engine, wait a few minutes for the oil to settle, then check the oil level with the dipstick and top off if needed.
And there you have it! Learning how to unscrew an oil filter is a skill that saves money and gives you a real sense of accomplishment. With these steps, you’ll be changing your oil like a pro, and your car will thank you for it!
Unscrewing an oil filter might seem daunting at first, but with a bit of patience and the right tools, it’s a perfectly manageable DIY task. Remember to prioritize safety, have all your materials ready, and don’t be afraid to take your time. You’ve got this!