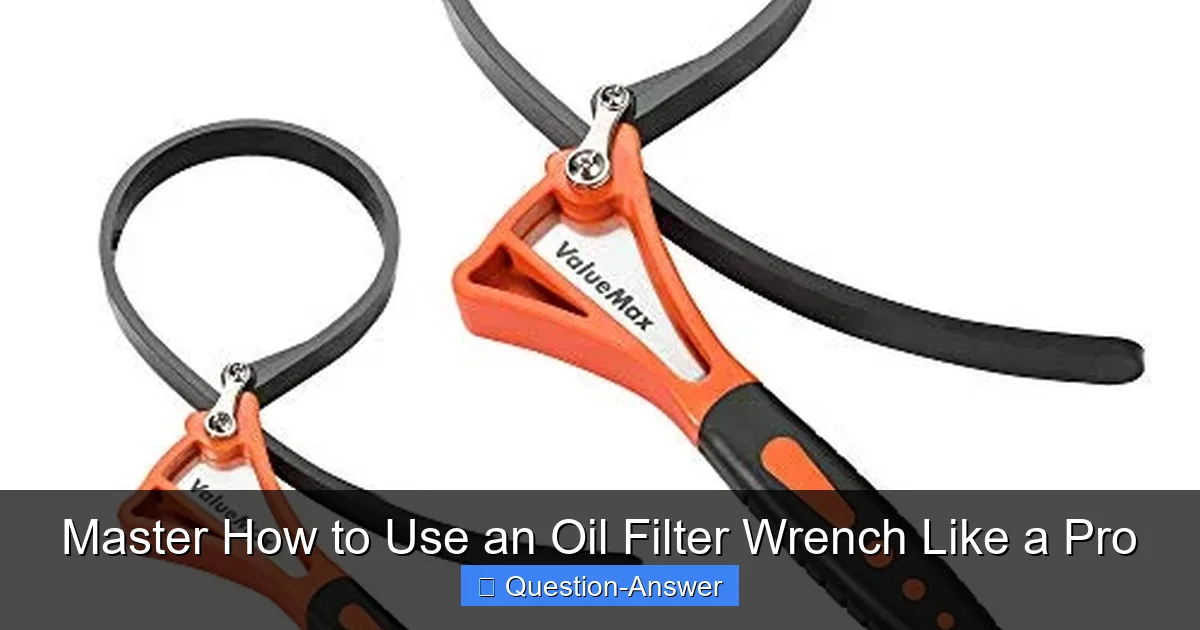
Featured image for how to use oil filter wrench
Image source: compressorlab.com
Mastering the oil filter wrench is essential for smooth, mess-free oil changes. This guide highlights selecting the right wrench for your specific filter and applying the correct technique for safe removal and installation. Learn to avoid common mistakes, ensuring a professional, leak-free job every time.
Hey there, fellow DIYer! Ever stared at a stubborn oil filter, knowing it needs to come off, but your hands just aren’t cutting it? We’ve all been there. That’s where an oil filter wrench becomes your best friend. It’s not just about brute force; it’s about using the right tool the right way. Learning how to properly wield this simple tool can save you a lot of frustration (and skinned knuckles!) during your next oil change. Think of it as mastering a small but mighty step in taking care of your car.
I remember my first few oil changes. I’d struggle, slip, and make a glorious mess. Then I learned the nuances of using an oil filter wrench. It made all the difference. It’s a skill anyone can master, and I’m here to share how to do it like a pro.
How do I use an oil filter wrench effectively and safely for a smooth oil change?
Using an oil filter wrench isn’t complicated, but there are a few tricks to make the job easier and cleaner. Let’s walk through it step-by-step, just like I would with a friend in my garage.
First, why do we even need an oil filter wrench? Simple: those filters get tightened pretty well at the factory, or by the last person who changed it. Plus, heat cycles can make them stick like glue. Trying to muscle it off by hand is usually a recipe for frustration and maybe a little pain.
Choosing Your Weapon: Types of Oil Filter Wrenches
There are a few main types, and knowing them helps. I personally love cap-style wrenches. They fit over the end of the filter like a socket, gripping multiple facets. If you know your filter size, these are gold because they prevent slipping. But filters can vary, so having a few types isn’t a bad idea.
- Cap-style: My go-to for a snug fit.
- Strap-style: Good for odd-sized or hard-to-reach filters. Just wrap and tighten.
- Claw-style: These grip the filter tighter as you turn, great for really stuck ones.
- Band-style: Similar to strap but with a metal band.
Preparation is Key (and Saves You a Mess)
Before you even touch that oil filter wrench, get ready. Safety first! Make sure your car is securely on jack stands or ramps if you need to lift it. Gather your tools: a drain pan, gloves (trust me on this!), rags, your new oil filter, and fresh oil. Oh, and eye protection—oil can splash.
The Big Loosen Up: Removing the Old Filter
Alright, you’ve drained the old oil from the pan (don’t forget that step!). Now it’s time for the filter.
- Locate the filter: It’s usually a cylindrical canister. Sometimes it’s tucked away in a tight spot.
- Position the drain pan: Place it directly under the filter. When that filter comes off, oil will come out. My first time, I learned this the hard way with a stream of oil hitting my driveway.
- Attach the wrench: If you’re using a cap-style, slide it over the filter end until it’s snug. For strap or band styles, tighten it around the filter body. For a claw-style, place it on and let it grip.
- Turn Counter-Clockwise: This is crucial. “Left loosens, right tightens.” You’ll want to apply steady, firm pressure. Sometimes they’re really on there, so don’t be afraid to put some muscle into it, but avoid jerky movements that could cause the wrench to slip. If it’s super stubborn, a breaker bar extension on your ratchet can give you more leverage.
- Initial Break: You’ll feel a “pop” or a sudden release. That means you’ve broken the seal.
- Remove the Wrench: Once it’s loose, you likely won’t need the oil filter wrench anymore.
- Hand-Loosen the Rest: Slowly unscrew the filter by hand. Keep the drain pan underneath. As it comes off, tilt it to control the oil spill into the pan. This is where those gloves and rags come in handy!
- Clean Up: Wipe the filter mounting surface on the engine block. Make sure the old filter’s gasket didn’t stick to the engine. That can cause a serious leak with your new filter.
Installing the New Filter: Hand-Tight is the Mantra
This is where many beginners go wrong. You just used a wrench to get the old one off, so you might think you need it for the new one. Absolutely not!
- Lube the Gasket: Take a dab of fresh engine oil on your finger and lightly coat the rubber gasket of your new filter. This helps it seal properly and makes removal easier next time.
- Screw it On by Hand: Start threading the new filter onto the engine by hand. Make sure it goes on smoothly and doesn’t cross-thread.
- Hand-Tighten Only: Tighten it until the gasket just makes contact with the engine block, then give it another half to three-quarters of a turn by hand. Your hands are surprisingly strong enough for this. I cannot stress this enough: do not use an oil filter wrench to tighten a new filter. Overtightening can crush the gasket, making it leak, and it’ll be a nightmare to remove next time.
My Personal Pro Tips
- Always have extra rags. You will use them.
- Invest in a good quality set of various oil filter wrenches. It saves so much grief.
- If your filter is in a really tight spot, an articulated ratchet head can be a lifesaver.
- After you’ve filled the car with new oil and run it for a few minutes, always double-check the filter for any leaks. Better safe than sorry!
Mastering the oil filter wrench is a small but mighty step in gaining confidence with your car’s maintenance. It turns a potentially frustrating job into a manageable one, letting you take pride in doing it yourself. You’ll save money, learn more about your vehicle, and get that satisfying feeling of a job well done. Happy wrenching!